Windows 10/11 private key backup
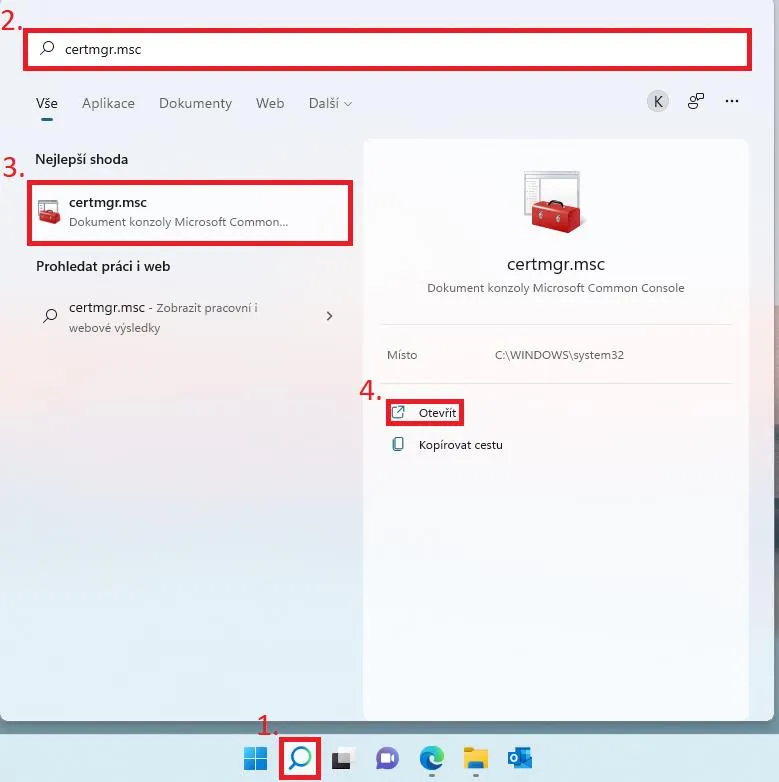
The tutorial was created on Windows 11, but the procedure is the same on Windows 10. The only difference is that the magnifying glass can be found in the bottom left corner of the tray. In the first step, you click on the magnifying glass found on the Windows tray and type the name of the application certmgr.msc in the search box. Windows will offer you the application, which you click on and open.
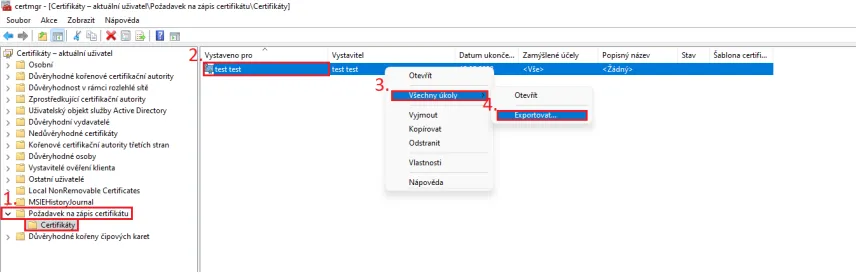
In the application, click on the "Certificate Enrollment Request" folder, and click on "Certificates" here . Select the key you want to export and right click on the certificate. In the menu, click on "All tasks" and select the export option.
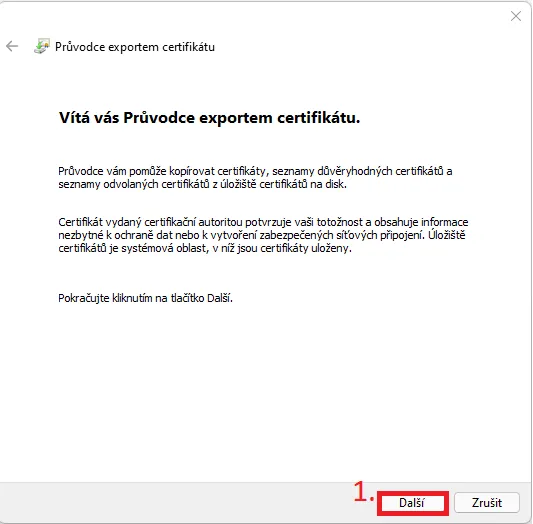
This will open the export wizard, in which you select the next option in the first step.
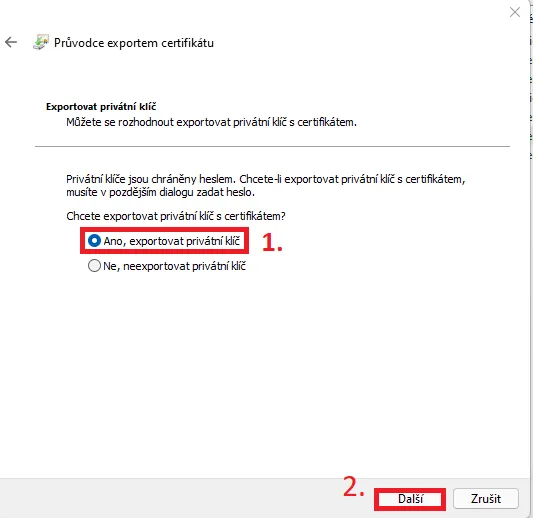
In the next step you need to select "Yes, export private key" and then continue to the next step.
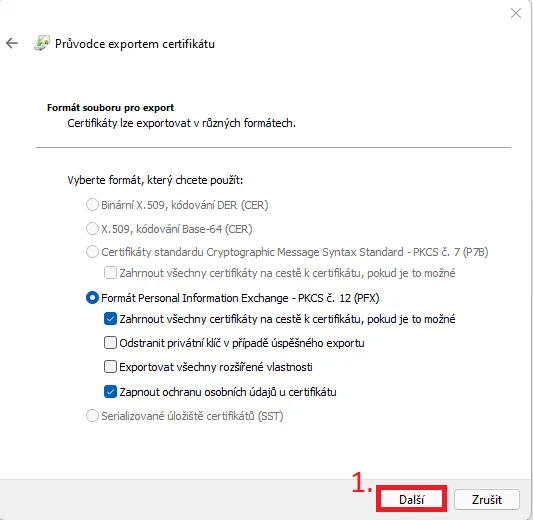
You will leave the file format as default and continue one step further.
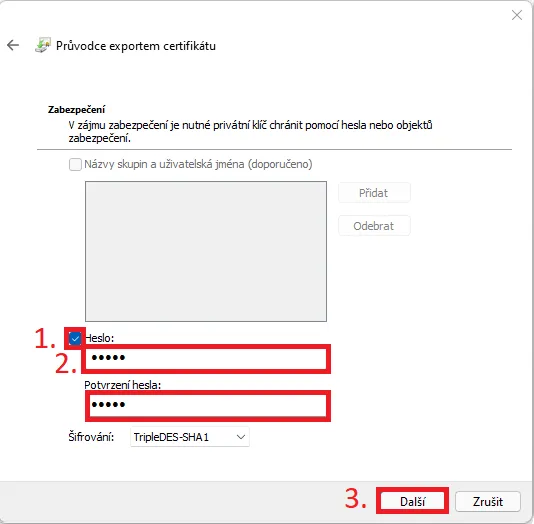
Here, you will check Add password (it won't let you go any further without a password) and choose a password that you will then need for any manipulation of the private key backup.
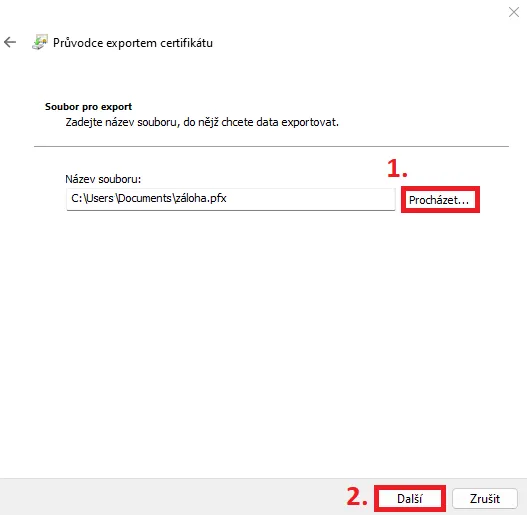
After creating the password, you need to choose a file name and where it will be saved. Click on "Browse" and select, for example, your desktop and type the name of the backup in the box.
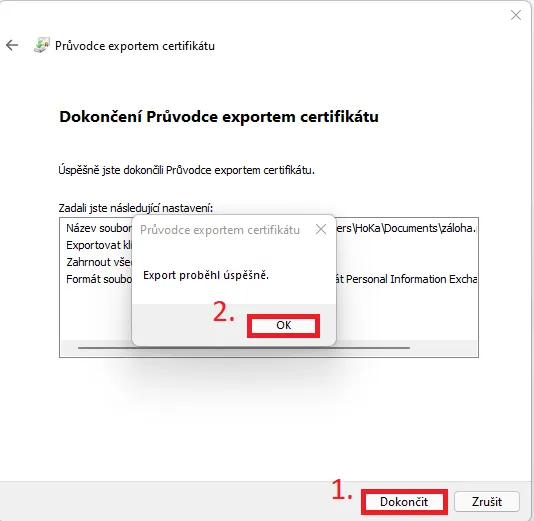
In the last step, use the button in the window to complete the export process and confirm the window with information about the export taking place.